Archive for March, 2013
Vanagon – interior LED lighting update
Posted by albell in vanagon, vanagon mods on March 29, 2013
In this post I described installing some led strip lighting and dimmer switches. During the install I smoked one of the dimmer switches so I wired both strips to the one controller and lived with it until I ordered another switch. Those dimmer switches were inline units and I spent some time milling out a kind of mounting plate for them. The more I looked at this kludge the less I liked it. It didn’t help that a couple of friends were less than enthusiastic about it, despite my glee at actually being able to make the thing. Looking around superbrightleds.com I found a better solution, this dimmer switch. All it does (capacitance touch method) is turn light on and off and dim them. The previous switches had additional flashing and flicker settings which really are useless in this application ( I thought perhaps the flicker setting would mimic candle light – ha! was I wrong).
The new switches come with 5.5 mm barrel connectors so I also ordered up some adapters so that I could attach wire pairs. I installed the switches today and I have to say they are a big improvement over the other ones. One touch turns the light on or off (and the light ramps up and down with the on and off touch – a small feature but very cool), and holding your finger on the switch dims down then back up. No moving parts, its all to do with capacitance (David B. needs to explain this to me).
No points for guessing where the makers got their design influence from.

The male and female 5.5 mm barrel to wire adapters.

The wires go here 🙂

Adapters on the switch leads.

The switches come with a small square of 3M adhesive backed Velcro. Makes them dead easy to mount, but not dead easy to get two of them perfectly aligned.

Addendum: I just measured the current draw of the new switches. When turned off my Do Wattson shows 0.00 A. When both main cabin strips turned on the meter shows 670 mA. This is better than the old switches that did consume a little power when off (somewhere under 10 mA) and when switched on the system drew 750 mA.
Vanagon – platinum catalyst heater mount
Posted by albell in vanagon, vanagon mods on March 26, 2013
Yeah, I know, I know, these heaters are not the best solution for the van. I got this one back in ’93 and never did install it in my ’82 westy. But over the last couple of years I’ve dragged it out to use in the syncro for winter camping, and last week I finally cobbled together a more secure mounting system for it.
BTW, apart from the risk of oxygen depletion, and the possibility of CO production (although if the heater is working properly little CO is created, well except if the oxygen level is low then more CO is produced) the big drawback of an unvented propane heater is the production of water vapour. Here’s the logic, using a 1 lb propane bottle as fuel source:
combustion equation:
C3H8 + 5 O2 —–> 3 CO2 + 4 H2O
so for every mole of propane burned, we get 4 moles of water.
the molecular weight of propane is 44 g/mol, and therefore a 1 lb (454 g) bottle contains 10.3 moles (454/44)
So burning the entire bottle would produce 4(10.3) = 41.2 moles of water
The molecular weight of water is 18 g/mole, therefore 741.6 g of water produced.
A respectable amount, almost 3 cups, of water is liberated into the van when you burn a one lb bottle of propane.
So the lesson learned is either buy a vented heater or make sure you vent the van well. I like to have the pop top vent partially open and one window open about an inch when I use my unvented heater.
OK, enough. The point of the post was to show my quick and dirty mount. I used scrap 1/4″ aluminum (5052 if you’re asking) and instead of welding (my skill at welding inside corners, especially on tubing is still at the crap level) I bolted it together.
The heater.

The unpainted aluminum shape is bolted to the heater to stiffen things up. The painted “wing” is the bolted to that stiffener. The bent tube is actually bolted to the wing – bolt through wing into a tapped hole drilled crosswise in a bit of steel rod which is running crosswise in the tube. Oh yeah, that’s great descriptive prose. One unexpected bonus is that the heater now can be placed on floor, if desired.


Unpainted end of tube fits into front table arm of the van. It can be adjusted to a range of positions and is high enough to mostly avoid being hit by the dogs.

I’ve been using a 20 lb propane bottle sitting in the driver’s footwell. No, not the most elegant solution.
Addendum – it just occurred to me that it might strike some as strange that I don’t simply attach the tubing directly to the stiffener piece and get rid of that black wing. The truth is I made the tube and wing first and mounted it directly to the top two bolts on the heater. But I found that not steady enough so I made a backing plate. I liked how I could coil the propane line around the wing, so I kept it, for now.
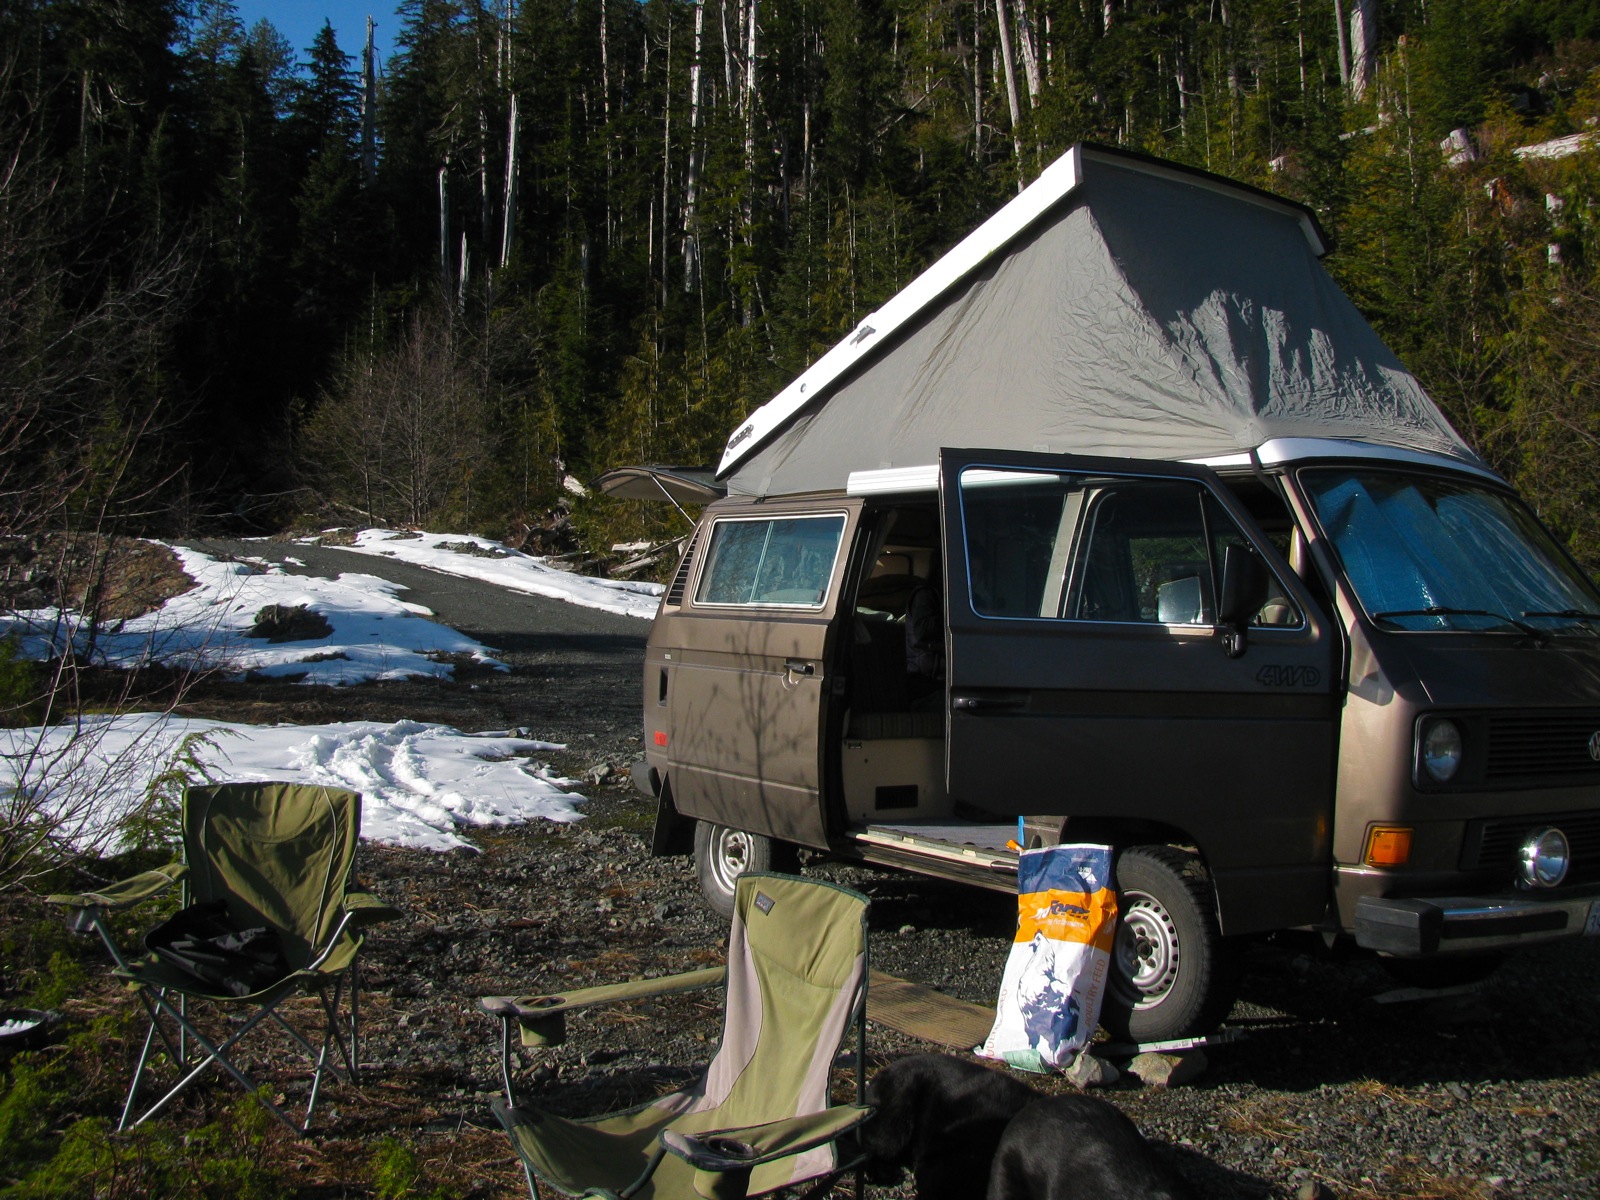
Trip – stopped by snow but fun anyway
This past weekend my wife and I headed off for a quick overnight trip. We didn’t plan a destination, but ended up, again, in the area north of Port Renfrew. Snow level was much higher than it was back in January, and we managed to get up Grierson main and we had hopes of getting to the viewpoint we visited last May.
But the combo of thick crusty snow and a steep final approach thwarted us.

No really, it was steep.

We really wanted to get to the end of this spur, but no way. Just above that steep section the road flattens out.
What it looked like last May.

And this time.

And the spur we wanted to camp at, as it was last May.

And this time.

Our fire pit was still there.


So we went back down the road about 200 metres.
Wasn’t too bad, sunshine and a nice view.

Walked down the road a ways and looked at the desolation after logging.

If you look closely you might be able to see the yellow shoots of Skunk Cabbage poking up at edge of the water.

Pretty little oasis amongst the logging.

One of our dogs, loves the snow.

Cape Flattery, Olympic Peninsula, Wash. State.

We had the Go-Westy rainfly up, and the Westy pop top insulation blanket installed inside. We also brought along the Olympian Plat Cat heater (not used when sleeping). The set up worked very well, and with the pop top vent cracked overnight, we have very little condensation on the windows in the morning. Must have had some sort of chimney effect going.

A little bit of snow falling next morning.

Breakfast, and the tell-tale sign that someone in the family is a Molecular Biologist.

The old “Excelsior” at work again.

The dogs taking up space.

Then off we drove to explore more of the area. The weather cleared a little, if it wasn’t for the wind it could almost be described as mild.
Nice little lake, second growth forest.

Edinburgh Mt. in the background, steep logging in the foreground.

And wouldn’t you know it, we even checked out the Camper Creek area campsite that we spent so much time at last summer.

Ooh, kindling!

Notice how the mirrors take a bit of a lashing on these trips?

Came back home via Gordon River and Cowichan Lake (a round trip we have done many times before). Saw signs of kayakers along the Gordon – crazy folk who paddle down the canyons.
Vanagon – an interior led lighting project fail
Posted by albell in vanagon, vanagon mods on March 16, 2013
It’s not hard to guess that I am enamoured by led strip lighting, but my latest project using the strips is a (qualified?) fail. I’m posting it just to make it clear that I often go down wrong paths.
I had some led strip left over from the step protector project, and I wanted to get some light back at the hatch area. Sometimes we sleep with “heads at the hatch” (more of a summer rather than winter position, but what the heck do you care? :)) and It would be nice to have a reading light back there. A light also could be useful for finding stuff in the dark etc. So how to mount a strip of led lights back there? Well of course a bit of aluminum channel screwed to the back edge of the ceiling – in place of the T moulding – would be the way to go. But I decided I was smarter than that.
I took the T moulding off and went about hacking it up to install the leds actually in it.
The Westy T moulding.

The led strip, looks like it will fit behind moulding if T was removed.

After some false starts, I found that my die grinder with a ball end bit cut the T off nicely.

Ok then, done.

The next part was to drill holes for the leds to peek through. Now I don’t know what system the makers were using to space the led elements, certainly they weren’t thinking about me laying out for drilling. And, every so often the spacing changes as strips are factory joined together. Grrr, I had to drill holes larger than I wanted too. But I kept on going down this path and I glued the led strip face down onto the T moulding.

Right then, after the glue had set I took the strip out to fix it up on where it used to be. I have no pictures of the shambles that followed, but imagine the floppy strip, Sikaflex, no real locating mechanism to keep strip from sliding sideways, spring poles that kept falling…
But up it stuck.

It looks much worse in real life. Here is side view.

So what are those aluminum bits at either end? My attempt at hiding areas where the laminate had chipped off the plywood (nothing to do with this project) and to securely hold down the ends of the modified moulding. During the project I had glossed over the question of what kind of switch to use and where to mount it. I tried but came up with nothing better than this switch mounted on a little but of angle glued to side of upper cabinet.

It is not great I know, but there you go. And switching on…

Bloody hell, 3 leds out. I’m sure that when I tested the strip before gluing it on to the cabinet all of the leds worked. I’ve resolved to rip this out and re-do using aluminum channel and new led strips. Will the night time shot make me feel better?
Couldn’t wait until full dark, pics taken at dusk. First one, light off.

And light on.

The pics don’t do it justice, there is certainly enough light to read by. And enough to really show up the dirty marks on the fabric attached to the hatch (it is about 12 years old now). All in all I’m pleased with the light, I will redo the mounting, but damn those failed leds!

Vanagon – “step protector” project
Posted by albell in vanagon, vanagon mods on March 12, 2013
Just over a week ago, Psyncro aka Syncronoid posted a clever mod on this Samba thread. I slapped my forehead, doh, why didn’t I think of that? So blithely I set about making my own version. I have an abundance of scrap aluminum left over from various projects/jobs so I figured I could knock one out in a trice.
Ha!
I cut some 2″, (3/16″ thick) angle to size, angling the ends to match the rubber mat I have over the carpet in the walk through between the front seats. BenT suggested I do something to make the top surface more interesting, so I clamped up the angle in my lathe’s little milling head and cut some 3/8″ wide grooves. The milling head does not have enough travel to do the cuts in one go, so the angle has to be repositioned during the cut. That, and my rushing, produced a sloppy effect.

So I decided to paint it with satin black Krylon. What was I thinking? I forgot to prime (zinc chromate is common primer for aluminum, strontium chromate is the better primer but hard to get). No primer meant the paint scraped off easily, not a good thing for something that would be trodden upon.

Then I had the idea of filling the grooves with some 2 part polyurethane. Do you get the idea that I am spending too much time on this simple project?
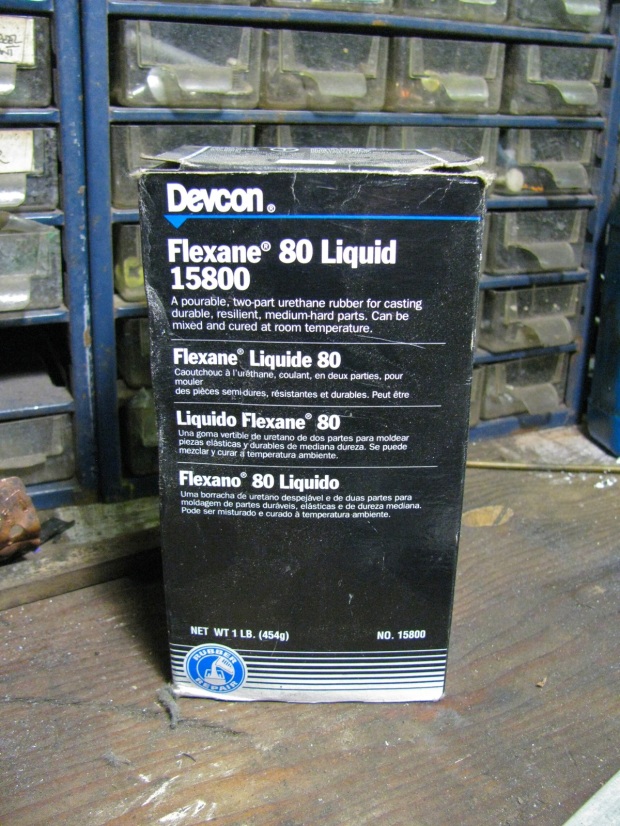
I mixed up a batch and poured it on.
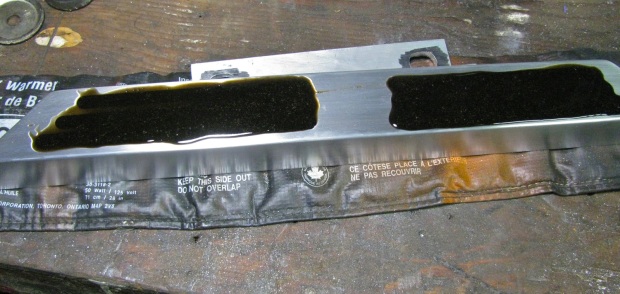
Then squeegee’d off most of the excess. BTW, it is sitting on a plug-in battery warmer blanket to help the polyU cure. I was getting sloppy, the stuff got everywhere.

And whaddya know? The polyU did not go off, no curing. Expiry date on package is for later this year, bugger it, so I wiped the mess off. On the Samba thread Doug suggested LED lights, seemed like a good idea. I had bought some LED strip lighting (warm white, 30 LEDs/meter) from Lee Valley and at the time was a little disappointed that the strip did not have a clean silicone-like cover like the strips I bought for the interior lighting and glove box lighting job. But the strips with their exposed and projecting LEDs would work great on the step. I drilled a bunch O’holes, same spacing as the LEDs on the strip along the bottom edge of the vertical face of the angle. I also drilled 3 holes for mounting screws then painted the angle with some Dupli-Color bed liner. Then I painted it again to get rid of the thumb prints when I grabbed as it fell off the painting block I had it balanced on.
After the bed liner dried, stuck on the LED strip using some of that foam type double sided tape (with holes in it too, of course). You can see the 3M name on the backing tape of the LED strip, I left this on.

I used some big-ass 1/4″ stainless sheet metal screws. Pan head, as I did not counter-sink into the angle. Why you ask? Well when you countersink you have to get things lined up pretty exactly and as I was match drilling through the angle to make holes in the van, and as the angle is sitting on a rubber mat over carpet over insulation, I did not think I could push down on the angle firmly enough as I was drilling to get a good tight fit. Using pan head screws and oversized holes on the angle allows me to push down on angle after holes drilled to get a tight fit of angle to floor. Man, that was a wordy and awkward description.

I have to blacken those screw heads.
And the LED feature? I don’t have it wired into the door switch yet (I’m thinking about adding an additional switch so I can turn it on independently), but I hooked the leads up to the battery and…

All the trials and tribulations of this job vanished at the speed of light when I saw this. It is better than I thought it would be.
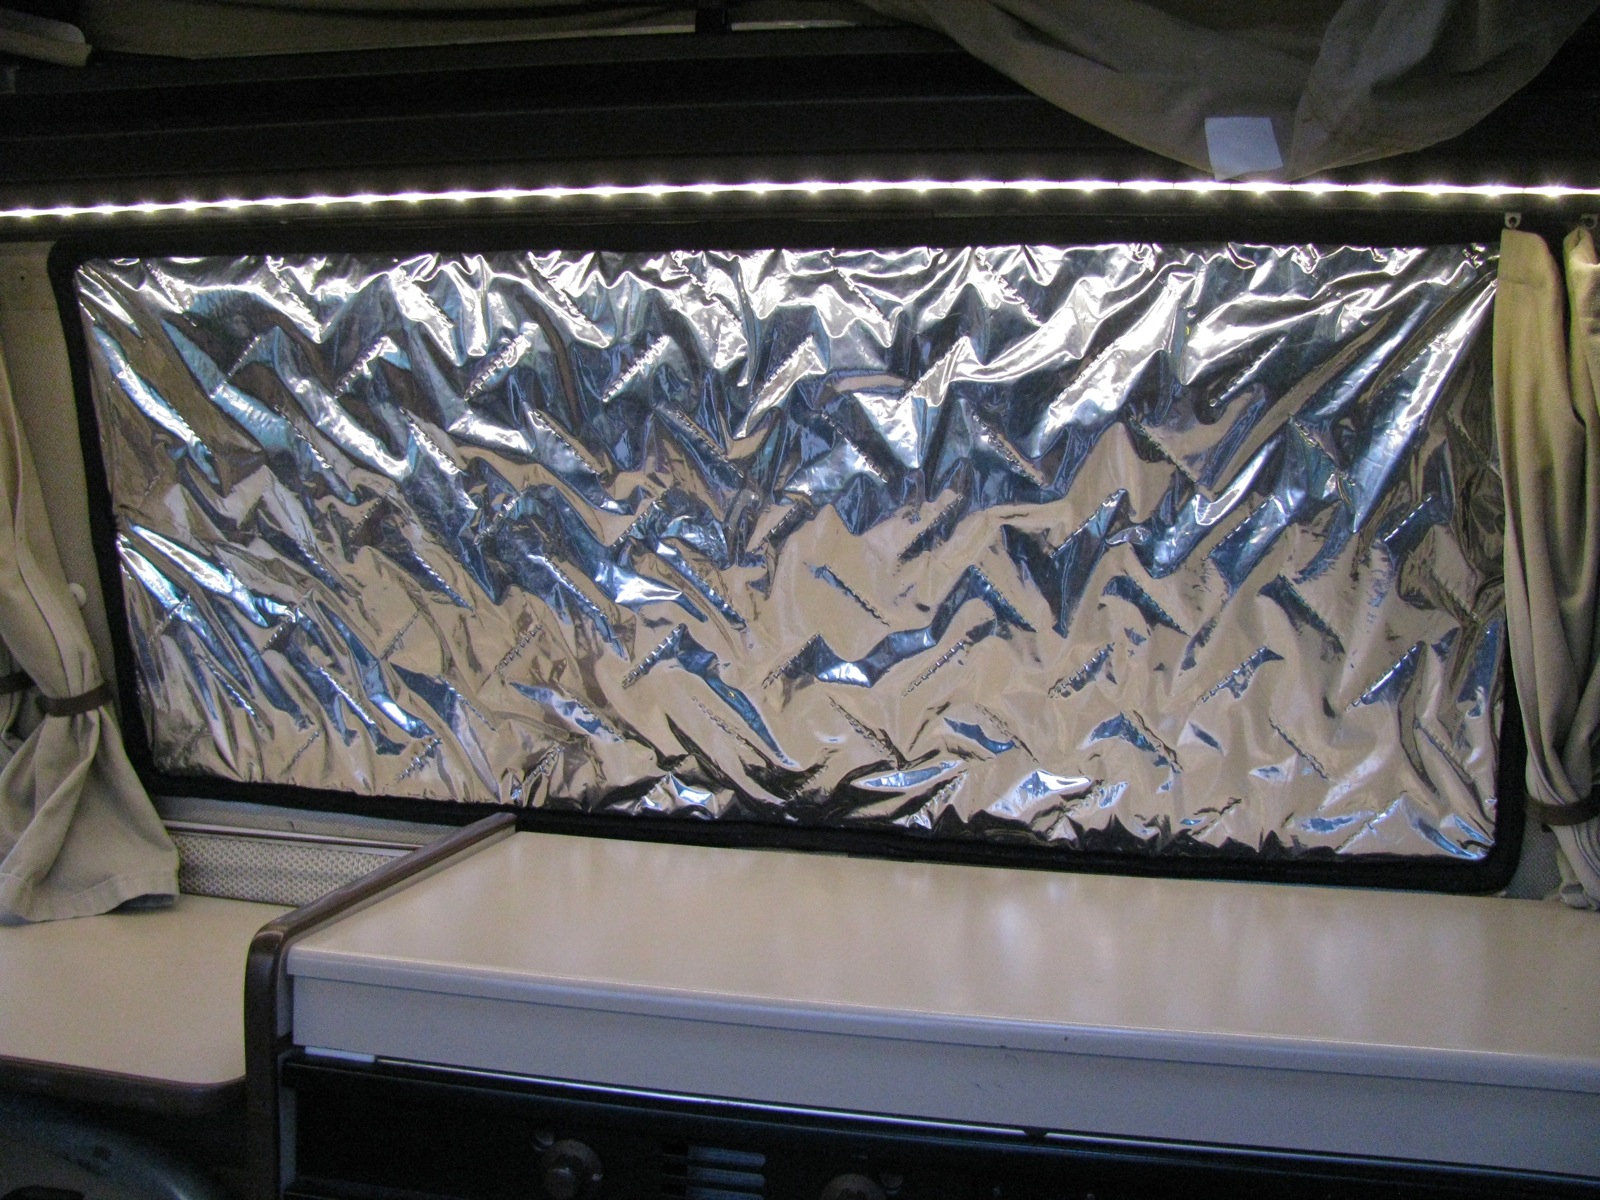
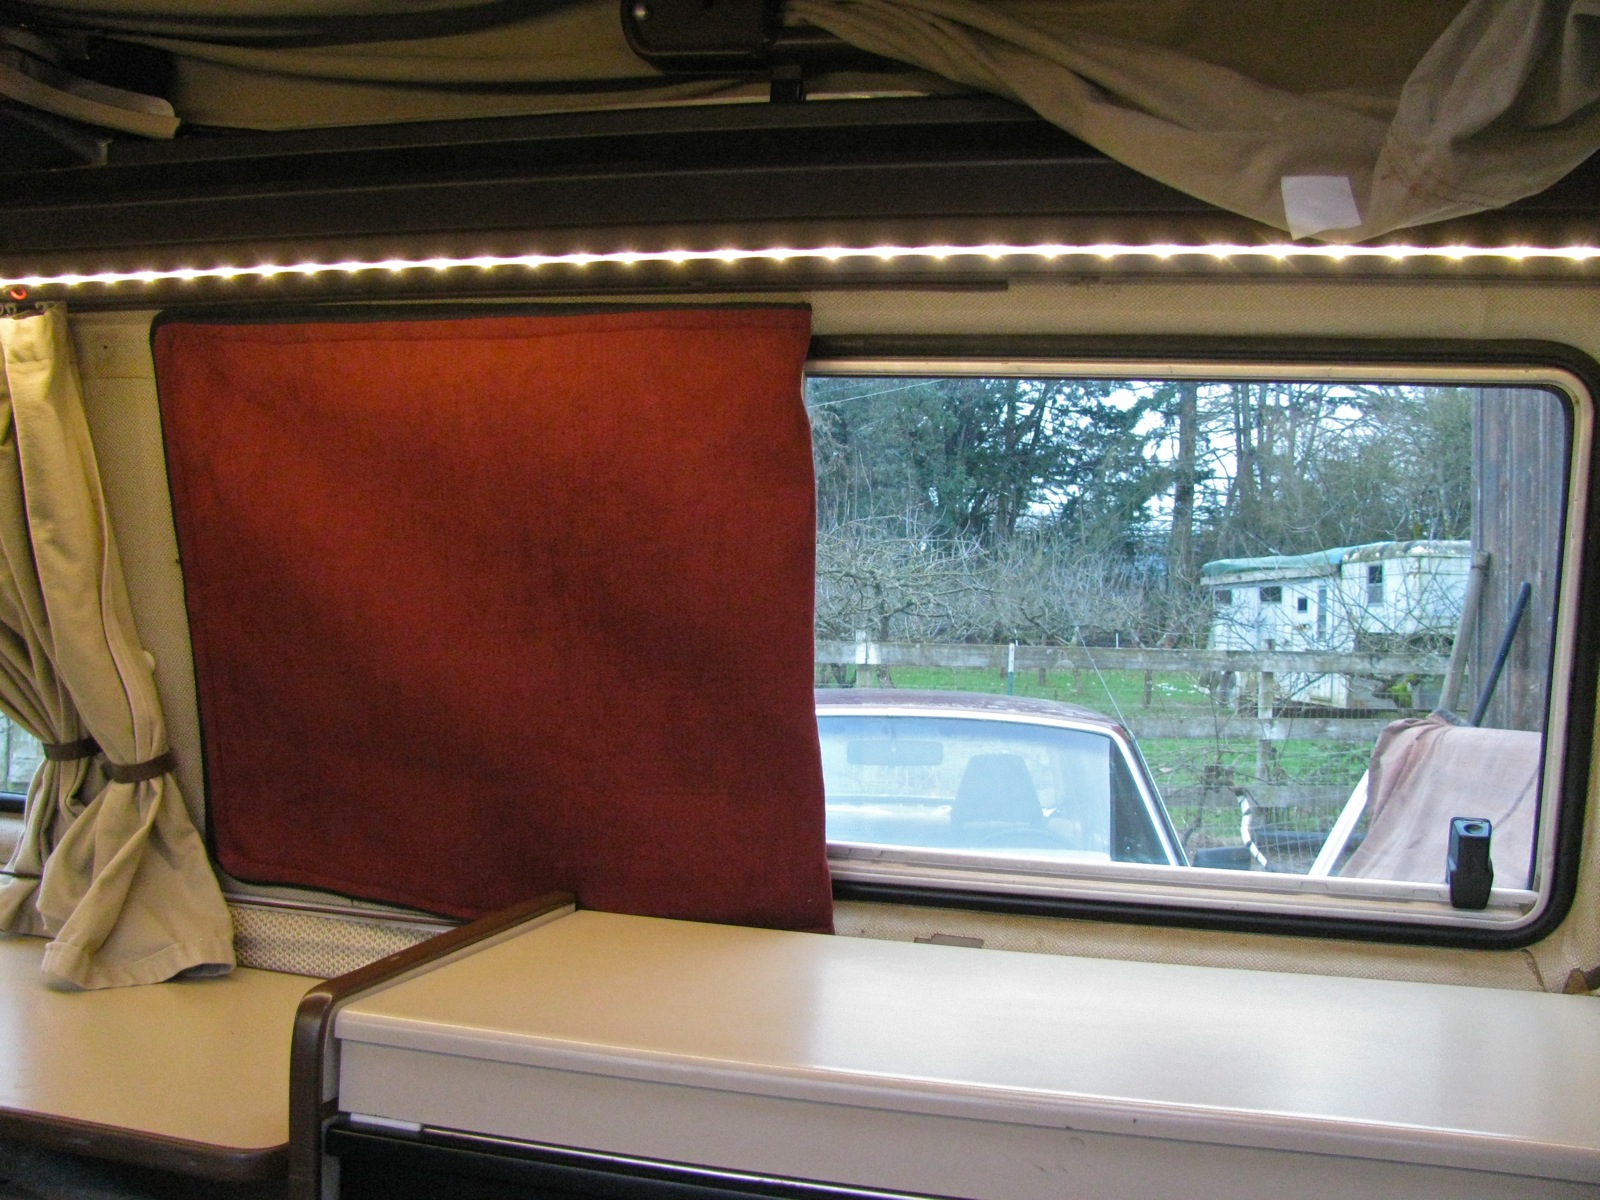
Vanagon – insulated window blanket prototype
Posted by albell in vanagon, vanagon mods on March 10, 2013
I bought some material a week of so ago with the idea to try making an insulated window blanket. At the fabric store I found some brownish-red microsuede material that was deeply discounted, and some “Insulbrite” sorry, “insulshine”. foil faced polyester batting material (about 1/8″ thick). I also bought some 1/2″ diameter, 1/10″ thick rare earth magnets. Today my wife sewed things up (and very nicely too) and I think it works out well.
The idea was to be able to have the shiny side in for winter camping – keep the heat in, and the shiny side out for summer camping – keep the solar gain down. I had thought about using snaps to fix the blanket in place but magnets seemed more versatile. I think it turned out well.
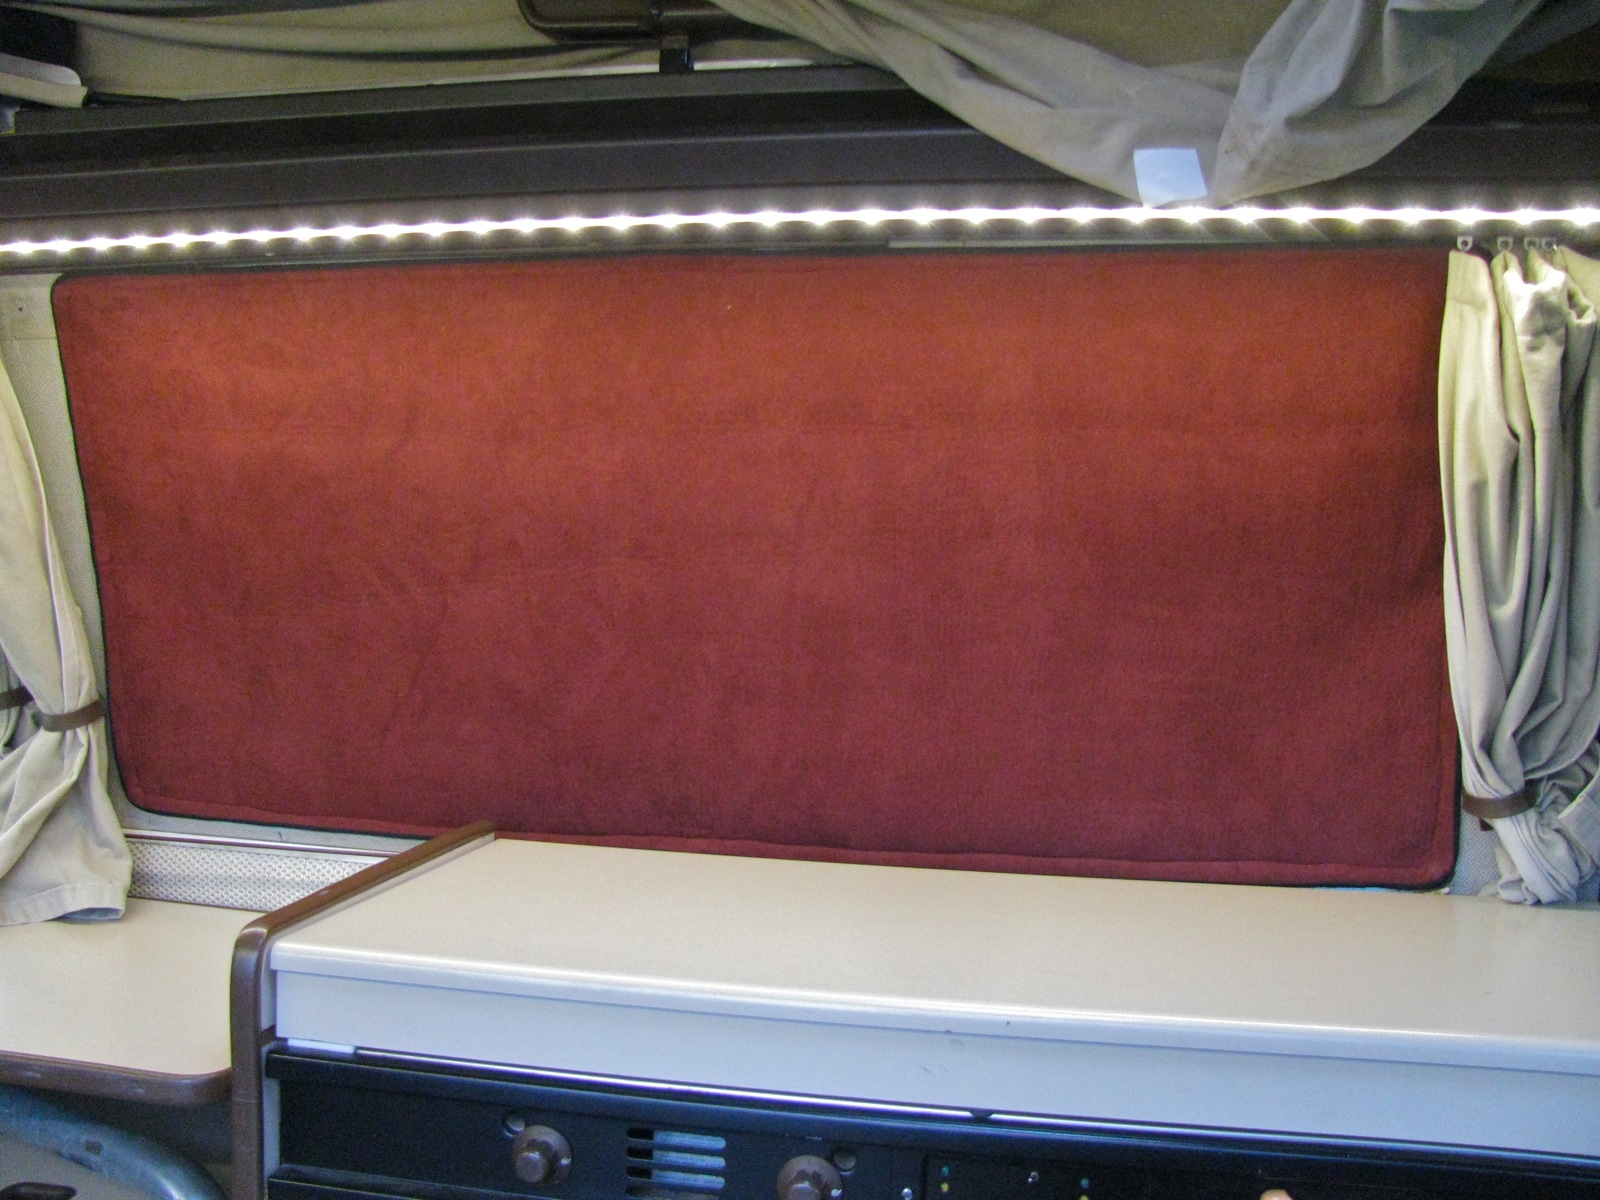

I’ll post a bit more on the construction later.
