Edit: I wrote that I used 10-24 insets and screws. I made a mistake, they are actually 1/4-20.
It seems like an age since I have posted on the blog, I guess I’ve been in the doldrums. No major van projects completed, the bumper build has been on a bit of a hiatus as I don’t want to be doing the steel fabrication part (trailer hitch) at work when we are doing aluminum work. But i have to get back on that horse soon or else I never will. I have done a little work on it however, I cut off the end caps and slimmed them down some. A trial fit of the originals showed that they were a bit clunky.
Even being in the doldrums, or maybe it was the horse latitudes, I have managed to do a couple of little things and this post is about something I did this afternoon. I had a bit of 3/16″ aluminum plate (5052 alloy) earmarked for propshaft protection. Oh I know what you are thinking, that’s not beefy enough is it? Perhaps not, if you want rock crawling type protection. But I’m just looking for something to protect the propshaft from flying sticks and stones and the occasional scrape over gravel.
I cut the plate to size (and by the way the two propshaft rails are not parallel, they taper in about 3/4″ towards the front) so that there would be a 3/4″ projection on each side of the stock skid rails. I want that projection so that I can attach (later) some more plate to enclose the space between the skid rails and the frame rails. I drilled 1/8″ pilot holes, 10 places, locations for machine screws to attach the plate to the skid rails.

Then I clamped the plate to the rails and drilled 1/8″ holes in the rails using the previously drilled holes as a guide.

I removed the plate then enlarged the 1/8″ holes to accept threaded inserts. I bought this cheap insert tool at Princess Auto, back in the hazy days of summer. It came with a selection of inserts. I’m using the 10-24 inserts here. You screw the insert onto a threaded boss on the tool, insert the insert (!) into the hole and squeeze the handle. A couple of broken blood vessels later the insert is secured. Tool with insert in hole and an insert itself shown in this pic.
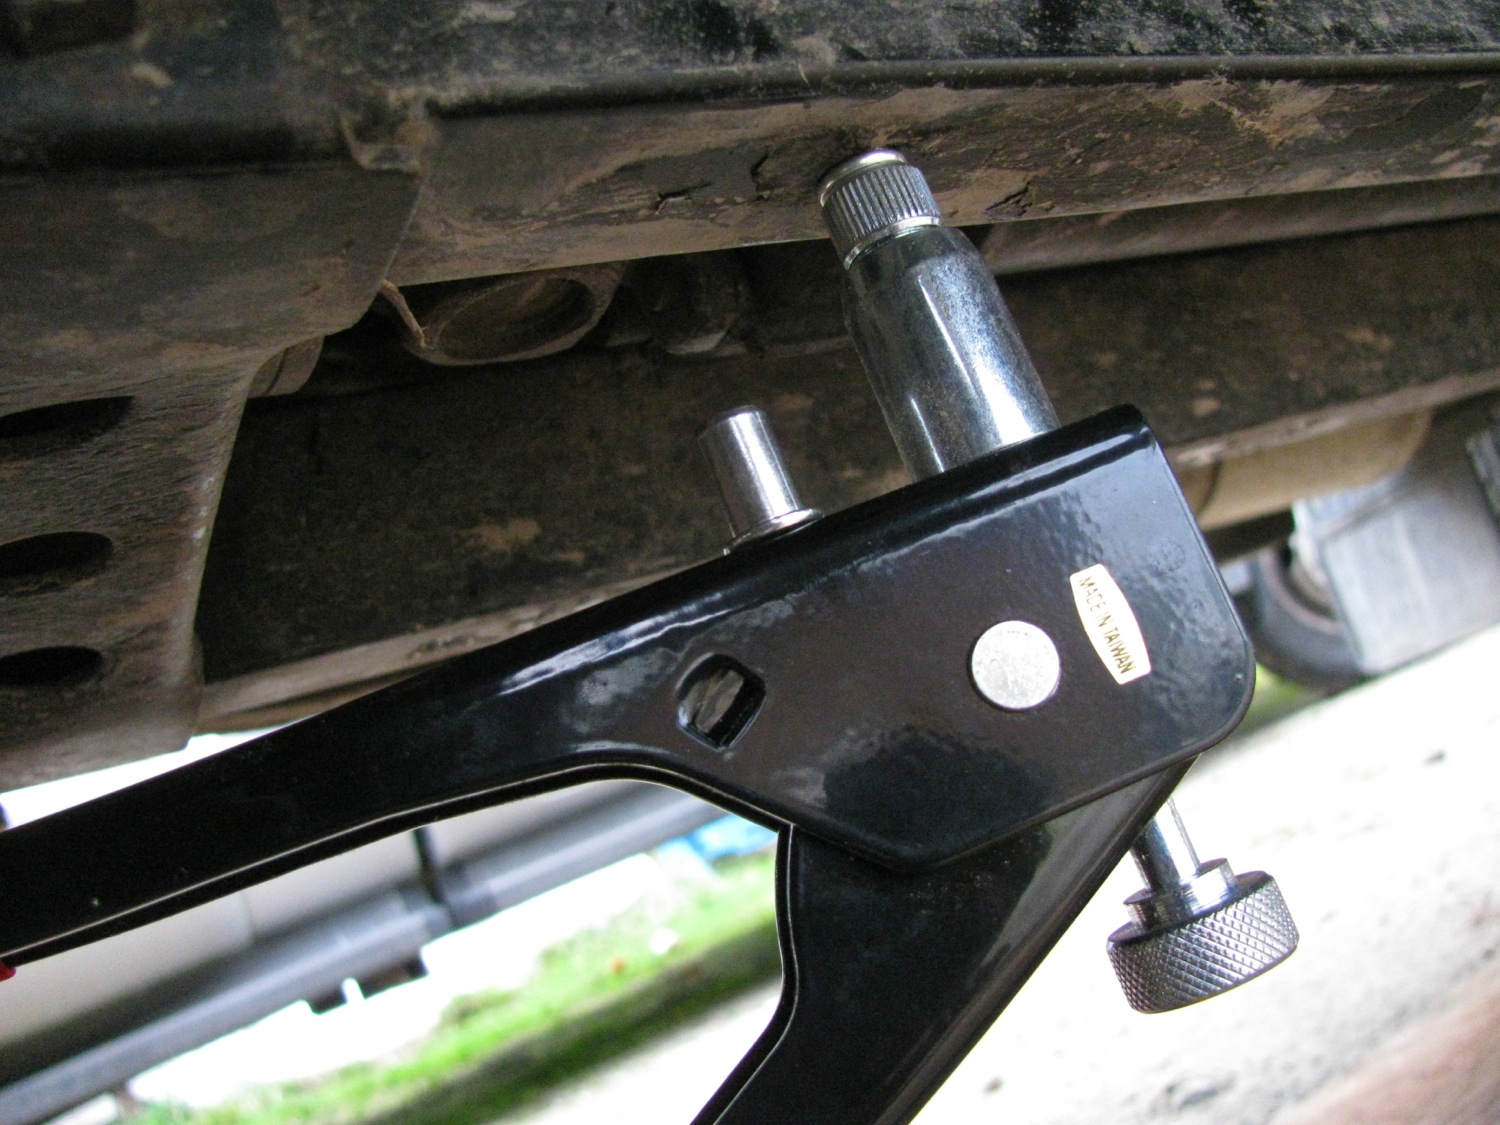
How it looks after insertion.
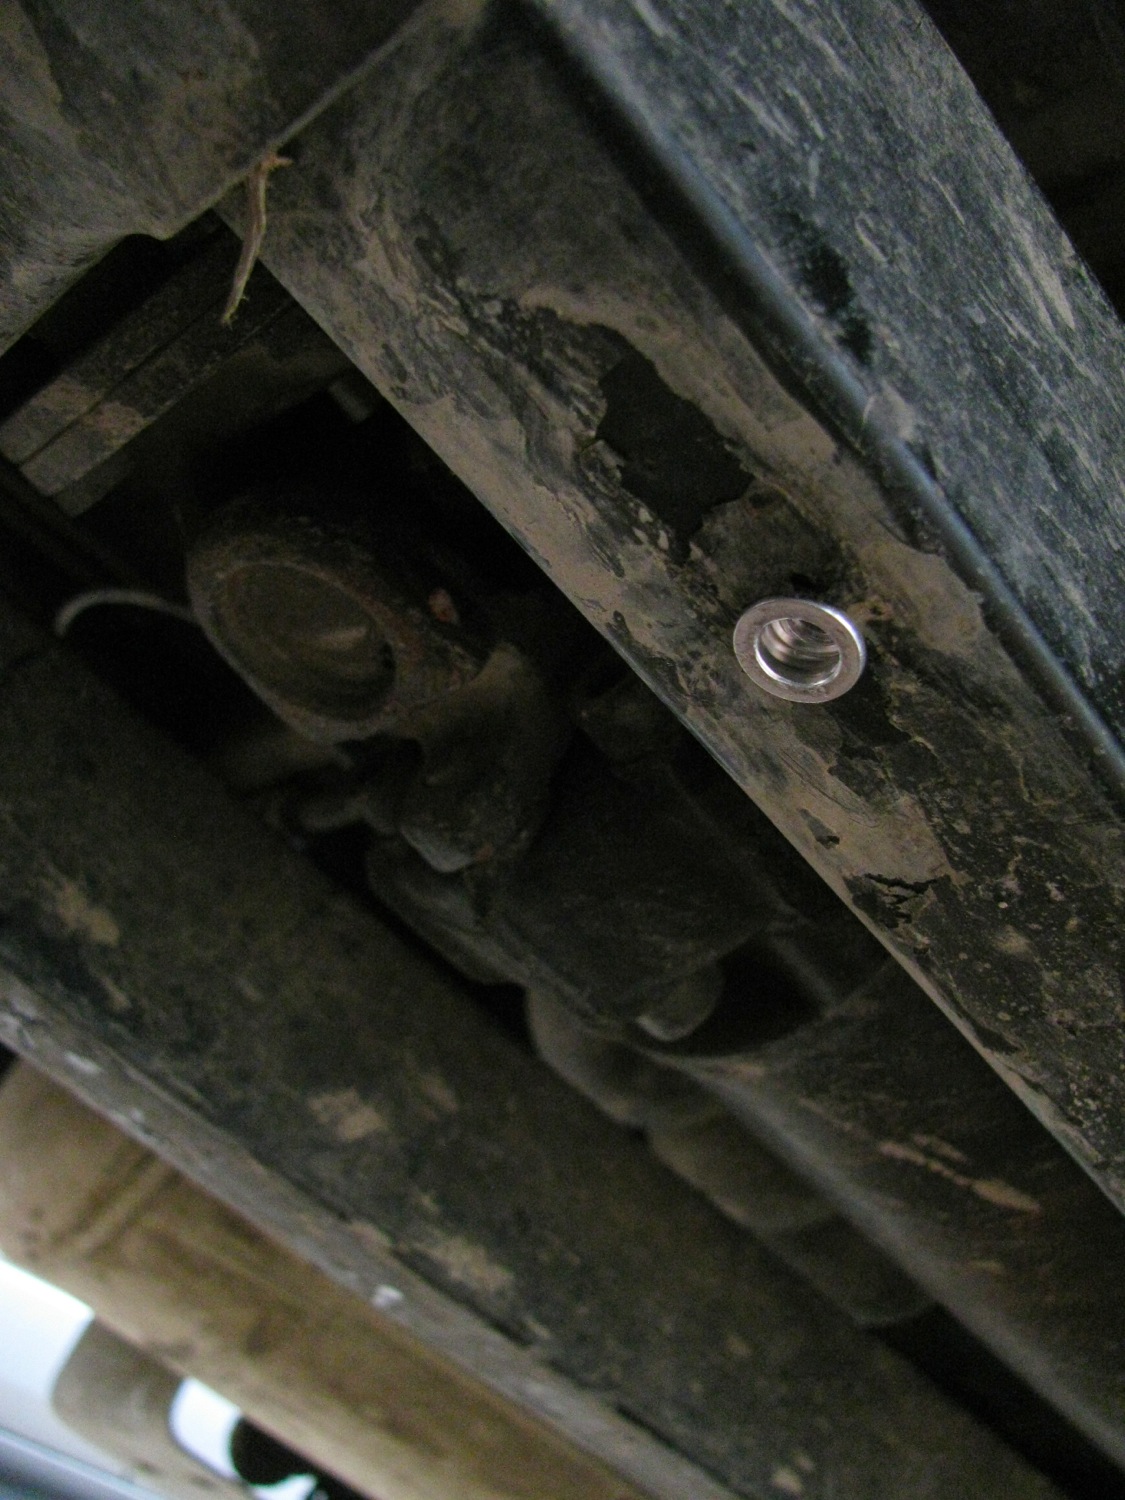
After a few more ruptured blood vessels all the inserts were installed. Oh I did spray some high zinc paint in the drilled holes before insertion of the inserts. Originally I had thought of counter sunk machine screws to attach the plate, but you know how it is with counter sunk screws, you have to get things perfectly aligned. I opted instead for these rather nice large (almost a truss head) headed stainless screws.
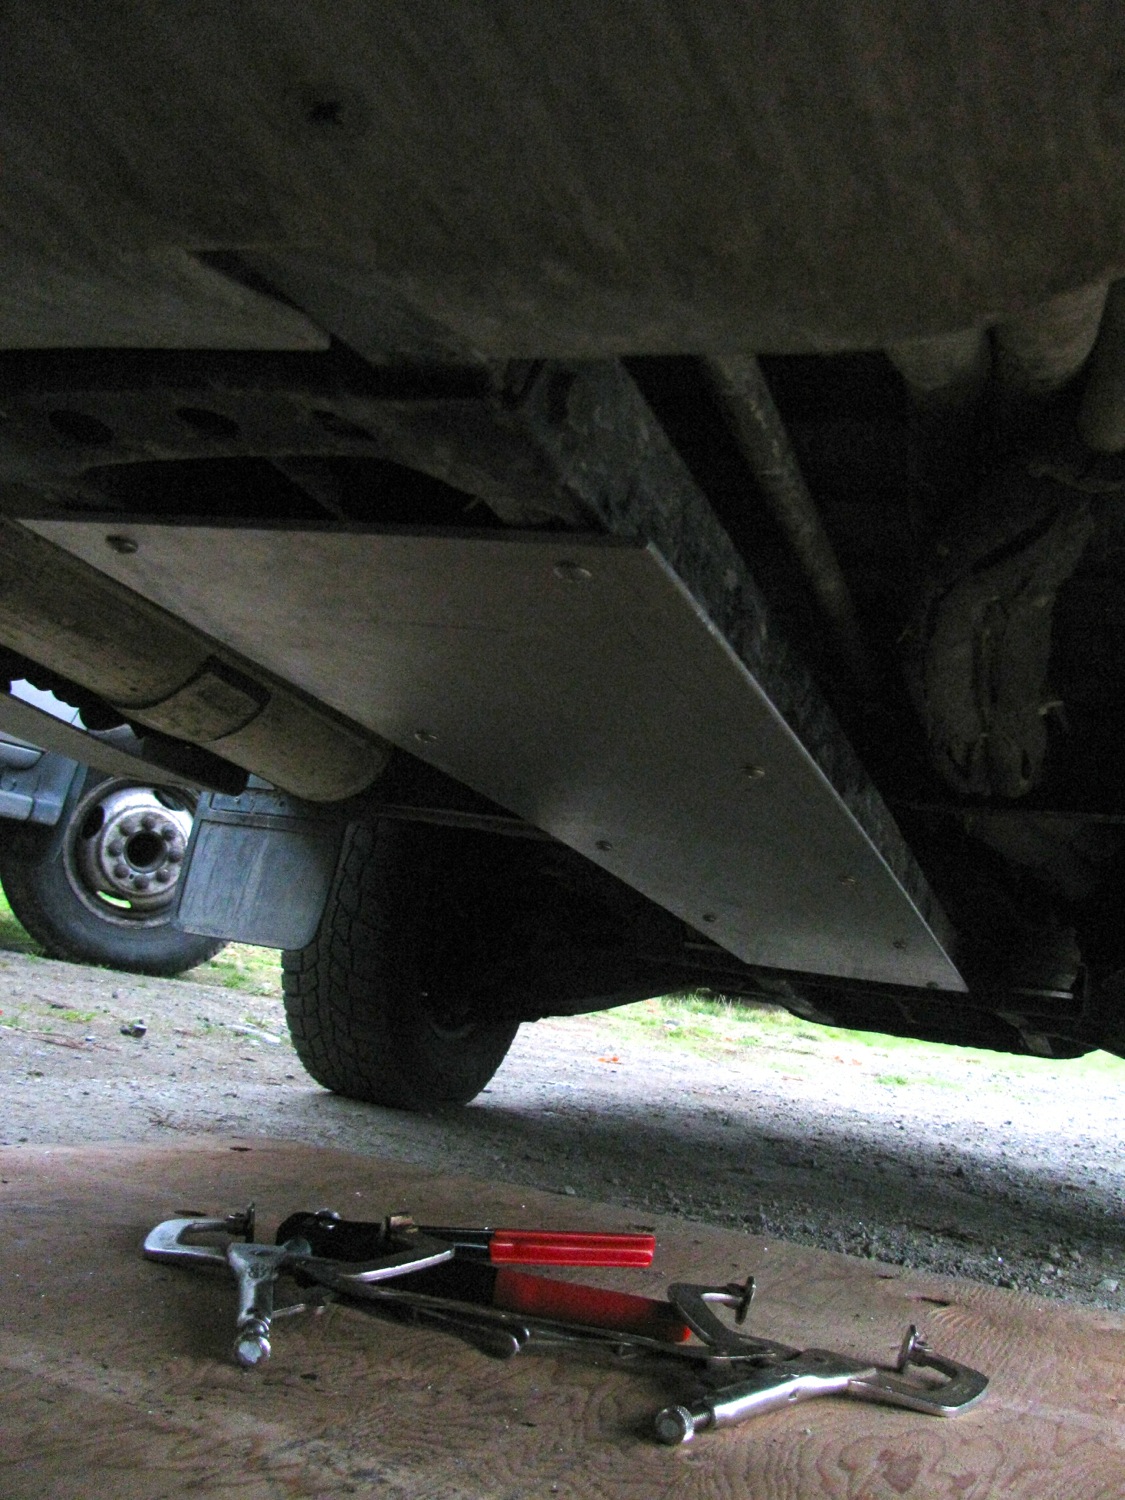
I have a notion to weld some braces on the back side of the plate just to beef it up a bit more. But then again I’m only using 10-24 1/4-20 screws to hold the darned thing on.
I’m happy with the result, and happy to be back blogging about the arcane things I do for fun.

#1 by famillysyncro on October 30, 2013 - 8:29 pm
Nice work.
I was thinking about it on our van (once I’ll put those rails back) but I am little concerned about snow in our side of the Rockies.
We came back last Sunday in a snow storm and I had a lot of ice under the van, especially on the heater exhaust/intake pipe (I’ll say about 2 or 3 gallons of it) so I am not sure if I could do something like that. Drilling holes (1″ or 2″) in the plate won’t really help for sticks and branches anyway but might allow ice and snow to go away…..
I still need to move the heater intake hose anyway as I have ice inside that cannot “escape”. Not sure what happened this time, I don’t remember anyway problem last winter.
Hope you’ll have time to finish your bumper, I am pretty sure I am not the only one that want to see the result.
Jerome
#2 by albell on October 30, 2013 - 8:45 pm
Jerome, you are absolutely right about holes. I forgot about them. About snow packing up in there, and imagine also I have the additional side plates I mentioned installed, I have to figure out how to finish the forward ends of the skid plates so that snow will not be scooped up. But then one could argue that you can never get it perfect and you will need drain/escape holes.
You know that the 16″ syncros, 14″ syncros with the “bad road package” and ’91 syncros had the shift linkage protection tube. That tube is great, stops slush and snow from freezing onto the linkage. I hope that my side plates will do the same job.
I have been in snow, heavy grainy snow, that packed up around and over the front diff. Was packed hard enough that it somehow interfered with the throttle cable working and the van would not low idle. Hard to see how I could make something to stop that from happening again.
I’ll go ahead with the side plates and try and come up with a front edge that won’t scoop snow and makes things worse.
Cheers
Alistair
>
#3 by famillysyncro on October 31, 2013 - 6:04 am
Alistair
I am not too worry about scooping snow but more about snow being “projected” by tires when driving. This is what happened to us last weekend as the snow a little slushy (because roads were warm) and the weather was cold…..
Aren’t you worried that holes might be more of a problem with sticks?
Jerome
#4 by albell on October 31, 2013 - 6:48 am
Yes especially with slush and then dropping temps. Slush thrown up become concrete on van,
Do you have the shift linkage protection tube?
Not worried about drainage holes catching sticks. Mind you I did pull a stick out from between engine and tranny when I was doing the plate install yesterday.
Ab
>