Finally got the plate done and installed. I made a change to it since the last update. The length of 1/4″ 6061 aluminum I welded more or less vertically on the outboard edge of the plate was cut off. It didn’t do what I wanted it to do, that is straighten out the warps formed by welding up the individual pieces of the plate, and it made attaching to the frame rail very awkward.
I welded on 2 lengths of 3/16″ 6061 at an angle that would allow me to attach the outboard edge to the bottom of the frame rail. The process of welding those bits (and yes, 2 pieces as I was using scrap again) on took a lot of the warpage out of the plate. I used those 1/4-20 riv-nut type inserts in the small oval holes that are on the rail bottom. The forward hole was larger than the rest so in that spot I used a 1/4″ 5/16″ riv-nut set into a small bit of 1/4″ plate and fed that plate inside the frame and forward to the hole. The bottom of the frame rail also has large oval openings with I guess you would call flanged edges. Those flanges stop the protection plate from pulling up tight to the frame rail, sits off about 1/8″.
A small cut out at the front edge to clear the front diff mount.

Still wavy, warpy. But much less than before.
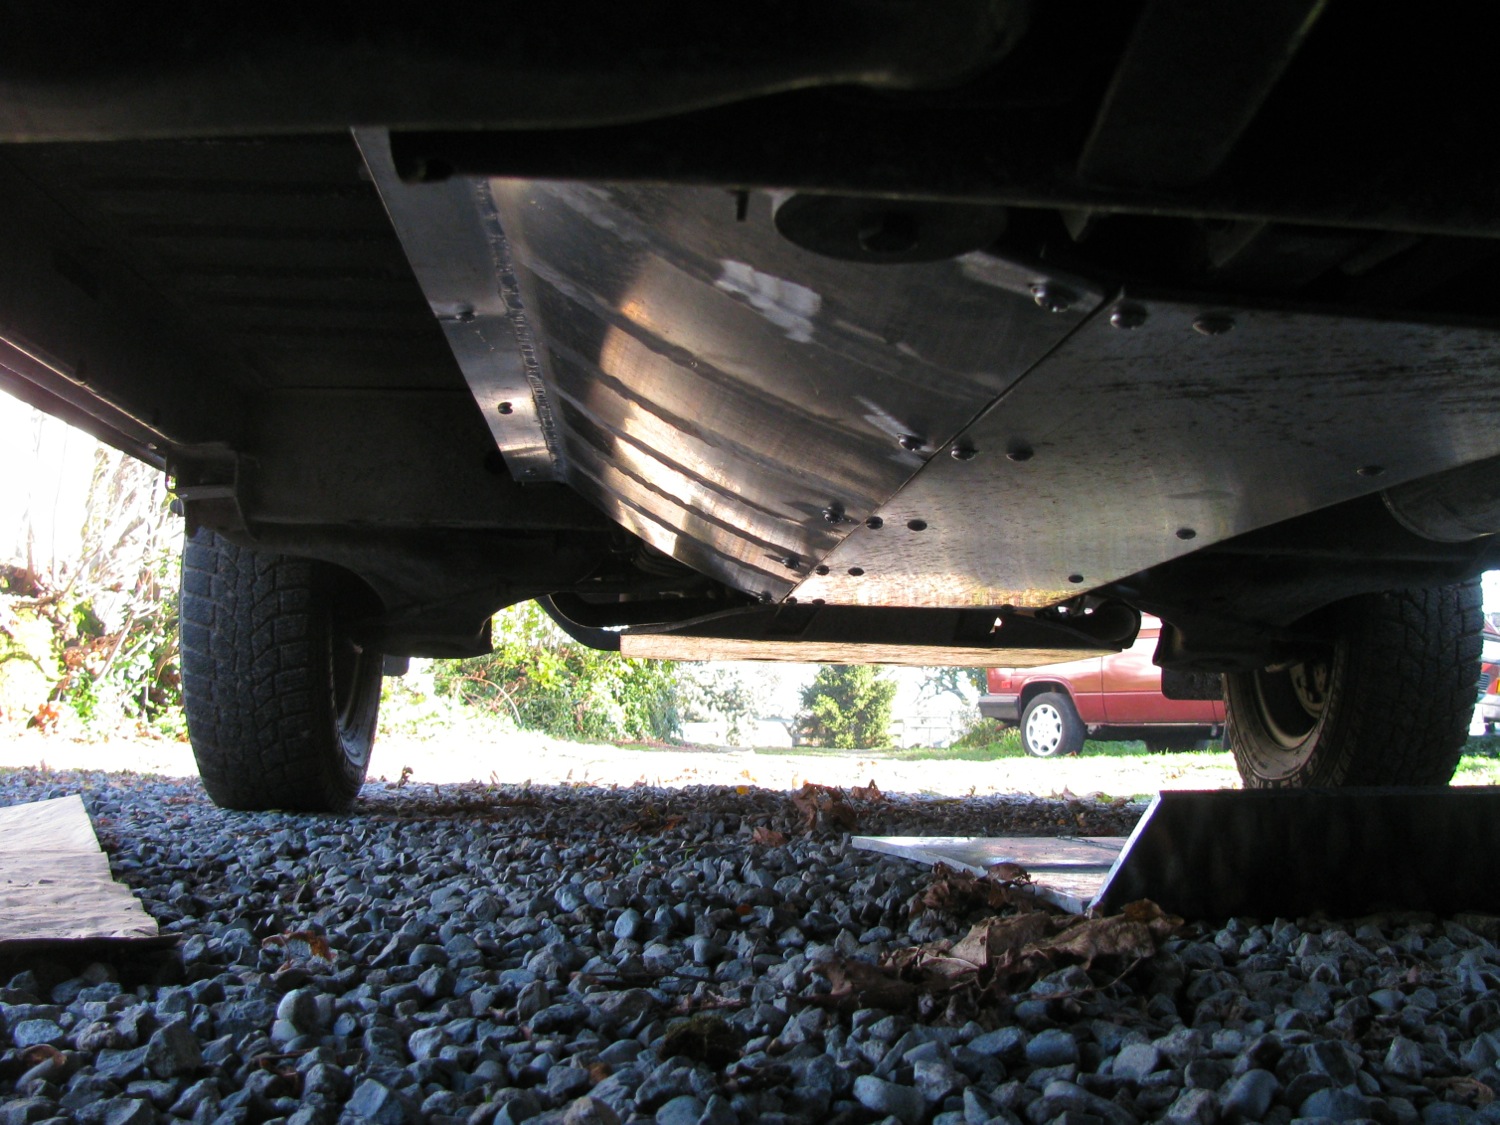
It did take a little persuasion to get it lined up and in place. The curve of the plate seems to make it much more rigid than if it were flat.
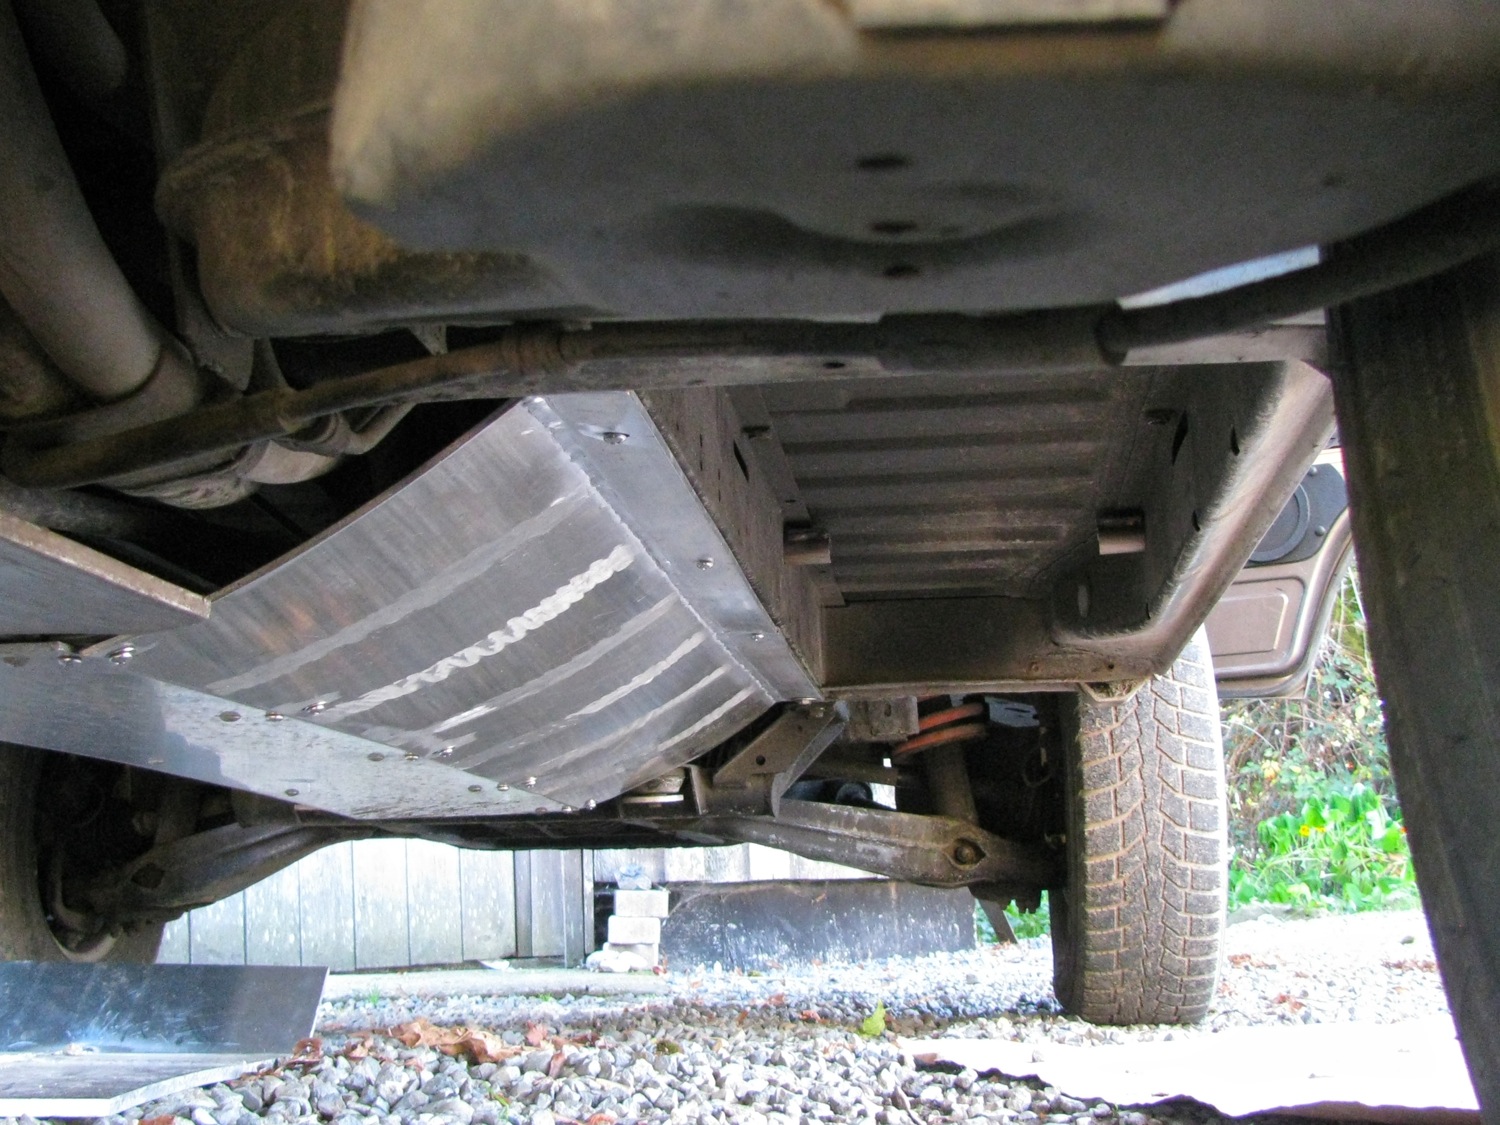
Not a great job, but not awful. I need to get some of those lower profile machine screws that I used on the propshaft plate and replace the regular phillips head screws.

Now my coolant lines, heater lines, shift linkage, are all well protected against flying rocks, branches, slush etc.
Update 22/11/2013:
So I’m a little slow on the uptake. I only realized after I installed the side plate that I could eliminate those stainless connector pieces and weld both plates together. So I pulled the plates late yesterday afternoon and welded them together. I was worried about distortion during welding and subsequent mis-alignment of the mounting holes. So I tack welded the plates together with the connectors still in place.
Here are the plates held together by the connectors.

I made small tacks on the inside and larger tacks like this on the outside of the joint, in about 5 places.

I then stitched the inside, when I say stitched I mean 3″ welds on about 10 places on the seam. Then back to the outside and stitched in the same way, but only about 5 stitches. Then I welded in between the stitches on the outside. I filled the screw holes on the propshaft plate and opened up the screw holes on the side (curved) plate for drainage. I actually opened them up more than is show in this pic.

I was surprised and happy that the holes still lined up and the combined plates screwed right up with no bother

Yeah, still no drain holes on the propshaft protection section of the assembly. I haven’t decided what kind of holes to put in.
